From big to small: 5 free image compression tools reviewed
Want to improve your page load times? Image optimization is a great place to start! Columnist Tom Demers reviews five free image compression tools and notes their impact on page speed.
Recently, I’ve found myself focusing more and more on optimizing page load times. Improving page speed is something that is generally pretty easily understood by clients, and it positively impacts user experience and conversion as well as SEO.
The challenge, frequently, can be that some elements of improving page speed can require significant input from development resources (e.g., prioritizing visible content, eliminating render-blocking JavaScript or CSS).
But there’s one element of page speed optimization that even non-technical marketers and content creators can contribute to: image optimization. As Kristine Schachinger points out in her excellent article on image optimization, resizing and compressing images can often be the easiest and highest-impact action for speeding up pages on your site.
Schachinger does a great job of outlining image compression and resizing best practices, but once you know which images need work (or if you just have some new images to add to your site), what’s the best tool for actually compressing images?
Since image compression can be such an easy win, I wanted to test the capabilities of five different free, standalone image compression tools that writers, designers or marketers can use to ensure that they’re keeping their image file size in check.
For this post, I ran three images from a site I own through each of the tools:
- A logo
- A large slider image that hadn’t been compressed
- An infographic we created that hadn’t been compressed
Two of the images were PNG, and one was JPG, and each had been generated without any focus on optimizing for size or for ultimately being compressed (as will frequently be the case “in the wild”).
There are a lot of different free image optimization tools. While I’m sure I’m not aware of all of them, I’ve checked out 15 to 20 different tools and found these five to be the best suited for most purposes. I think its likely that most people reading this post will find that one of these five is a good fit for their image compression needs.
Let’s run through the various tools I used to compress the images.
1. Optimizilla
Optimizilla has a very simple interface:
 100vw, 736px” data-lazy-src=”https://searchengineland.com/wp-content/seloads/2017/09/optimizilla-736×600.png” /></p>
<p>The biggest “pros” in Optimizilla’s favor are that the tool allows you to run up to 20 images through for compression at a time (a couple of the others on this list do as well) and that it has a great image preview feature which lets you dial up or down the “quality” of the photo.</p>
<p>This quality slider feature allows you to adjust your image compression based on whether the resulting image will look acceptable. Dialing down the quality shrinks the size of the image, so if you can’t see much of a difference at 60 percent versus 90 percent image quality, you may want to dial things down to 60 percent to reduce the image size as much as possible.</p>
<h2>2. TinyPNG</h2>
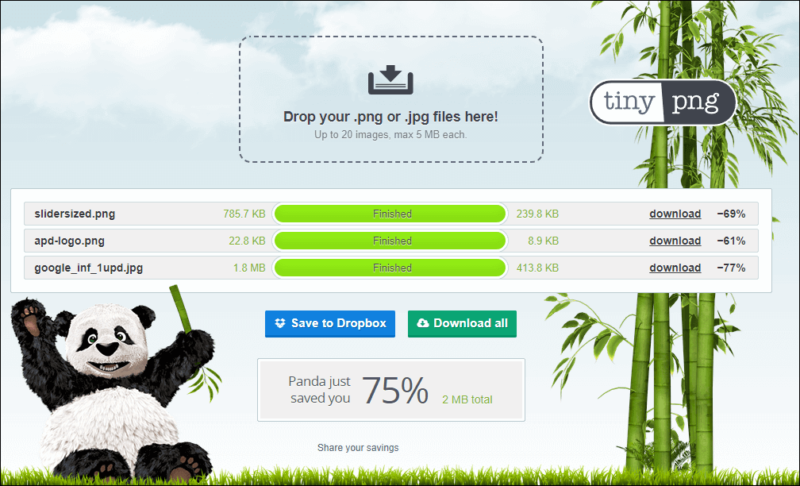
<p>Like Optimizilla, <a href=) TinyPNG has a nice, simple interface and allows you to run up to 20 images at a time. It also has a convenient “export to Dropbox” option:
TinyPNG has a nice, simple interface and allows you to run up to 20 images at a time. It also has a convenient “export to Dropbox” option:

3. Compressor.io
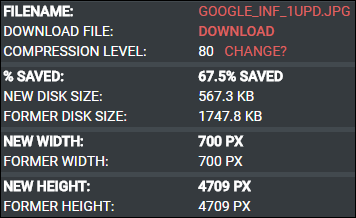
Compressor.io also offers compression. Unfortunately, there’s not a bulk upload feature here, so you have to upload one image at a time:
 100vw, 774px” data-lazy-src=”https://searchengineland.com/wp-content/seloads/2017/09/compressor.png” /></p>
<h2>4. Kraken</h2>
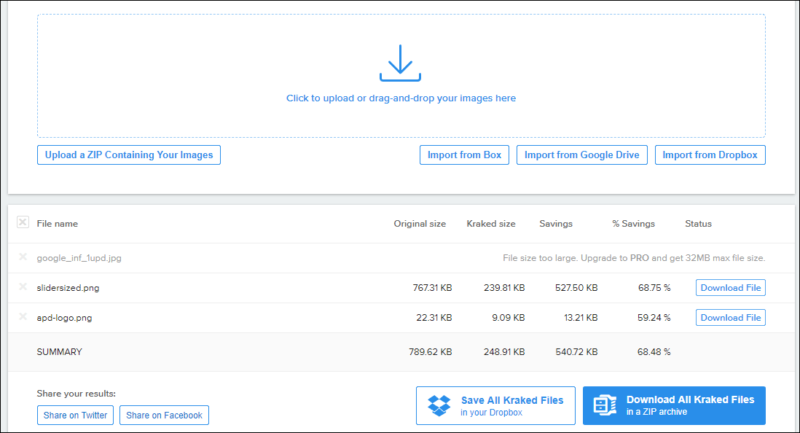
<p><a href=) Kraken does allow you to upload multiple files. It also has some nice features, like allowing you to easily export files to Dropbox or import files from Box, Dropbox or Google drive. Additionally, Kraken allows for “advanced” customization, like altering quality and orientation and preserving metadata for your photos.
Kraken does allow you to upload multiple files. It also has some nice features, like allowing you to easily export files to Dropbox or import files from Box, Dropbox or Google drive. Additionally, Kraken allows for “advanced” customization, like altering quality and orientation and preserving metadata for your photos.

The major downside to Kraken is that it was the only tool on the list that wouldn’t execute compression for all of the files in the free version of the tool. Our large infographic (which was a very big file at 1.7MB) hit their free cap. Their pro plans currently range from $5 to $79 a month.
5. Gift of Speed
Gift of Speed offers separate PNG and JPG compressors. It features bulk upload for PNG, but not for their JPG compressor.

What about the results?
As you can see below, all of the tools had a significant impact on image size. It’s worth noting that in each instance, I took the default version of the compressed image from each tool — I likely could have experienced even larger gains by tweaking the advanced settings in tools like Kraken and Optimizilla.
 100vw, 700px” data-lazy-src=”https://searchengineland.com/wp-content/seloads/2017/09/Image-Optimization-Metrics.jpg” /></p>
<p>As you can see, on raw default performance, TinyPNG had the smallest file size for the two larger images, and Compressor.io had the smallest size for the logo. If you’re curious about before and after image qualities, I’ve uploaded all of the files to a public Dropbox folder <a href=) here.
here.
If you’re looking for a tool for your team to use that is very easy to use and outputs a much smaller image by default, I’d probably recommend TinyPNG. Personally, I’ll frequently use Optimizilla, as I find it’s the best combination of a simple interface with some easy-to-use customization (where I can preview and dial down the quality to help shrink a file if necessary).
How does this actually impact things?
You might be thinking, “OK, great, so you made these image files much smaller — but how much of an impact does that really have on how quickly my page loads?”
To help demonstrate how dramatic the impact can be, I created a page on a WordPress site and first added the initial images (and nothing else) to the body of the page and logged the total load time for the page, then removed them and replaced them with the smallest version of each file.
Page load with all of the original images added to a page:
5.882 seconds
Page load with the best-optimized version of each image added to a page:
2.369 seconds
So, page load time decreased by more than half once the three images were optimized.
Now, this is obviously a particularly pronounced impact given the presence of the large infographic file, but your logo (and similar files) are present on every page on your site, and there’s a good chance that between blog posts, product images and other areas of your site, you have several non-optimized images. How much of an aggregate page load impact (and ultimately how much traffic and revenue) are you forfeiting by using these unoptimized images?


